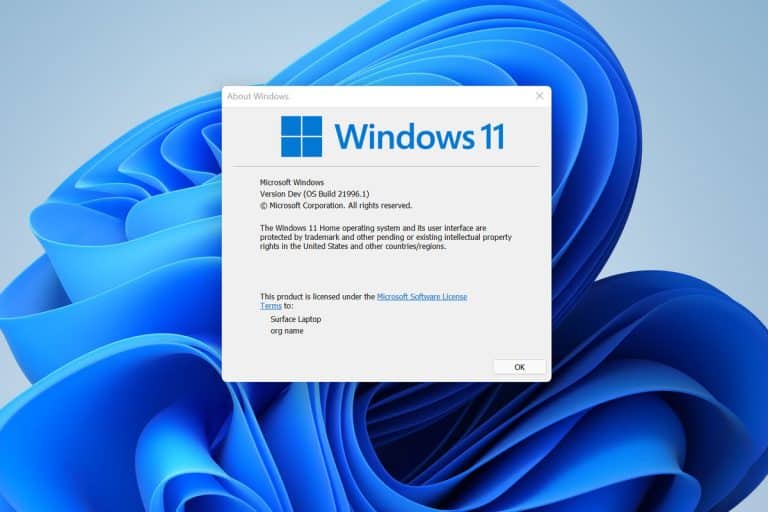
For Windows 10 users, installing Windows 11 is free and super easy. In the updates tab, just one click, and your PC gets Upgraded to Windows 11. But with the new generation come modifications to the UI elements and basic functions which can make it a difficult first experience.
A PC is a personal space and specifically personalized for our needs. The default settings of Windows 11 aren’t catered for your personal needs, so recreate the personalized experience we have put forth a list of things you should do after Upgrading to Windows 11.
Also, check out our article on Why Should A Gamer Upgrade To Windows 11
Contents
Things to do After Installing Windows 11
1. Setup your Microsoft account
Due to the huge changes that the OS went through, Windows 11 makes it so that you can log in to your Microsoft account and Windows will personalize your PC according to the settings stored in your Microsoft profile.
It also provides other added bonuses like windows hello through fingerprint and facial recognition, drive encryption, cloud storage through One drive, and computer virus protection through Windows security.
2. OneDrive setup
After signing up with your Microsoft Account, you get Microsoft OneDrive with 5GB free Cloud storage. With OneDrive, you can back up your desktop, photos, videos and documents. If you had OneDrive in Windows 10 then you can instantly shift your Desktop environment, photos, documents, videos directly without having to go through the process of redoing the personalizations all over again.
3. Remove unwanted Taskbar clutter.
The Windows 11 default taskbar has several things which might be unnecessary and unwanted to you. With every update, they get added to the taskbar but you can remove them. You can change these settings by going to Settings>personalization>Taskbar. Now Uncheck all the options which you don’t need. You can also go a set ahead and change Taskbar behavior, remove apps from the taskbar corner overflow, and Unpin programs from the taskbar.
4. Remove Bloatware
Windows 11 comes with preloaded third-party software on the start-up menu. For Windows 10 it was not so annoying since all the preloaded apps were windows apps and legacy games like solitary. Starting Windows 11, all android is supported by the software so now windows come pre-loaded with Spotify, Facebook, Instagram, amazon prime, TikTok, etc.
These apps take precious space off your PC’s which could have been useful for other programs. Hence, if you do not need such bloatware, simply uninstall them with a few clicks.
5. Disable nonessential startup programs
Startup programs are essentially those programs that self-start upon starting your PC. The idea behind startup programs is that you won’t need to individually start them every time you shut down and restart your PC. But many programs by default make themselves startup programs. This leads to slower windows startups and unnecessary resource utilization which could have been used for other important tasks.
To disable, open the Settings>Apps>Startup. Now, toggle for all the apps that you don’t want to run at the startup of windows.
6. Backup your PC
Backing up a PC is an important thing. You can choose to create a system restore point in Windows 11 to undo any change in case of system crashes. Windows are notorious for such crashes in between widows updates. Or, you can choose to create a system image for system recovery when the PC fails to boot.
7. personalize your PC
If you followed all the things mentioned in the article, then you are good to go with windows 11. But if your pc is still not personalized to your liking, you can personalize the system and create a better interface that is perfect for your needs. Just go to Settings > Personalization. Here you can find all the settings you need for the customization of your PC.

