
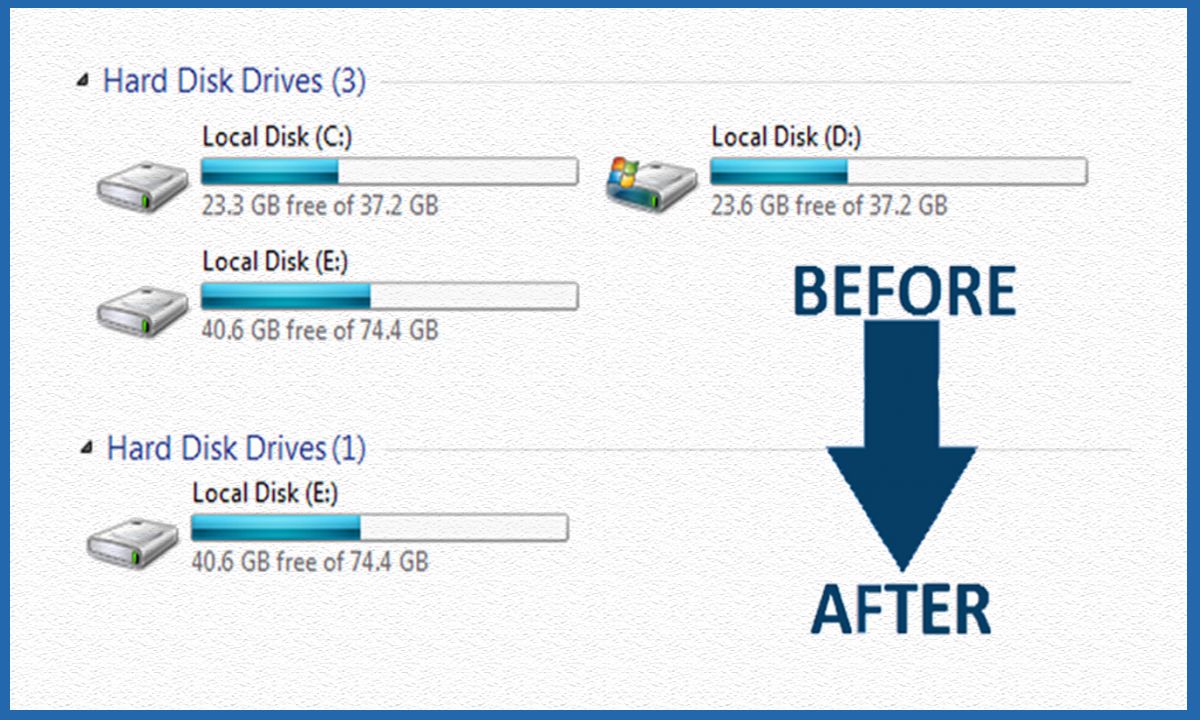
How To Hide Any Drive Easily In Windows Using CMD
Command-line User Interface is always more powerful than the Graphical UI. There are a lot of tasks you can do easily using command prompt which is not possible to do in Graphical UI. Using Command Prompt you can accomplish certain tasks that usually can’t be done without any third-party software. In this article, I am going to share the easiest way to hide one or more drives in the explorer using CMD.
Table of contents
Hide Any Drive in Windows Using Command Prompt
Read: How to Recover Deleted Data from Hard Drives ?
Step 1: Press win+R, Type CMD in a run and hit Enter to launch Command Prompt. In Windows 10 and 8.1, you can right-click on the Start button, and then click Command Prompt to open CMD.
Step 2: In the CMD, type Diskpart and hit the enter key. Click Yes if you are prompted with User Account Control dialog box.

Step 3: And then type List Volume and hit enter to see a list of all drives.

Step 4: Select the drive that you want to hide. To do this, type Select Volume G (here, G is the drive letter)

Step 5: To hide a drive, type Remove Letter G. Here, G is the drive letter then you want to hide.

Step 6: You are done. Close the Command Prompt.
How to show Hidden Drive again?
To show off the drive, do the same till Step 4 & fifth step command will be assign letter G & see that you’ve assigned the drive letter “G” successfully.