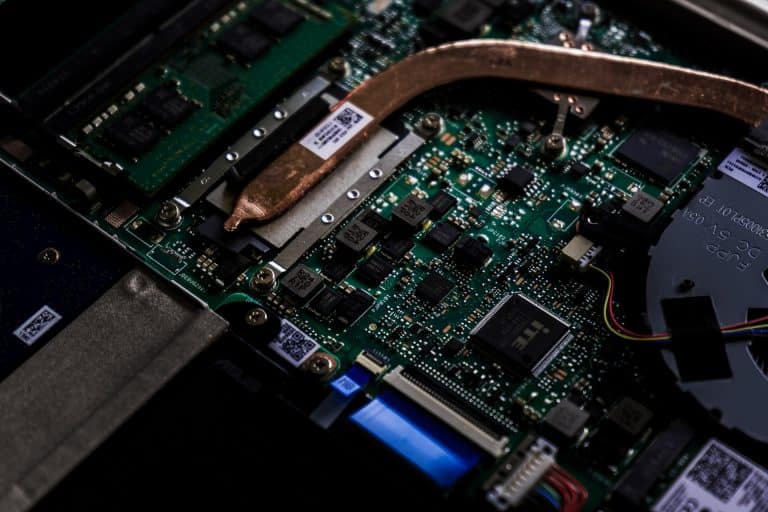
Some people think the BIOS update process is very complicated. Updating your BIOS can provide numerous benefits, including increased stability, compatibility with new CPUs and memory types, and improved performance. BIOS updates are frequently released by motherboard manufacturers several years after a motherboard is released, so it’s always good to check their support site and see if there’s new firmware released.
Updating your BIOS is not difficult, but it is dangerous. If the process is halted or fails for any reason, the result could be a bricked motherboard. As a result, it is recommended that you use extreme caution when changing your BIOS.
Keep reading this article till the end to know how to update your BIOS without any hassle.
How to update BIOS?
Before updating, check sure you’re installing a new BIOS version by comparing it to your existing one. To do so, open the Windows Search bar or the Windows Start menu, type ‘msinfo’, and press Enter to access System Information. Take note of the BIOS version, which should be located directly beneath your processor info. If you don’t know what model your motherboard is, it should be labeled as System Model.
Navigate to the official website of your motherboard maker and locate the help page for your motherboard model. The help website should have a Downloads section with various drivers and applications. Search for the BIOS section and download the most recent version for your motherboard.
If the file is in ZIP or RAR format, use any compression software to extract it. You should now have the new BIOS firmware file as well as the necessary flashing files. Place all of the files on a USB flash drive. Make careful to place them in the drive’s root directory.
Restart your computer and enter the BIOS. When your system boots, the correct key to access the BIOS should be provided, but there are a few general possibilities you can try, including F2 and Delete. Once in the BIOS, seek the BIOS or UEFI flashing tool. Certain motherboards include it as Q-Flash. If you have an older motherboard, look for the option to flash or update the BIOS, as there may not be a separate tool.
It is suggested that you backup your existing BIOS firmware after opening the BIOS flashing utility/setting. This is crucial in the event that something goes wrong while flashing your new firmware. Backing up the present BIOS is not possible on many motherboards, but if your BIOS/UEFI flashing tool supports it, perform a backup and save it to a USB drive.
You can now initiate the update procedure by selecting the newly downloaded and copied BIOS firmware file on the USB drive. Choose the correct file with extreme caution. Once the flashing begins, it is critical that your system is not turned off under any circumstances.
Restart your computer after the flashing process is complete. Your PC’s BIOS should now be upgraded to the most recent version.
Verdict
If you haven’t updated your BIOS yet, try out our BIOS update guide mentioned above and update your BIOS. However, if you still have any questions, let us know in the comment section below.

